What it is
The Register is the counter screen. It opens on any register device (tablet, phone, laptop, computer or POS) linked to a branch. It identifies the customer, applies their discount, coupons and rewards, and records the purchase amount on every plan.
With Fidly POS (add-on), the Register adds the catalog, shifts and shift close, payment methods, printed receipts, refunds and offline charging.
Step by step
Open the Register
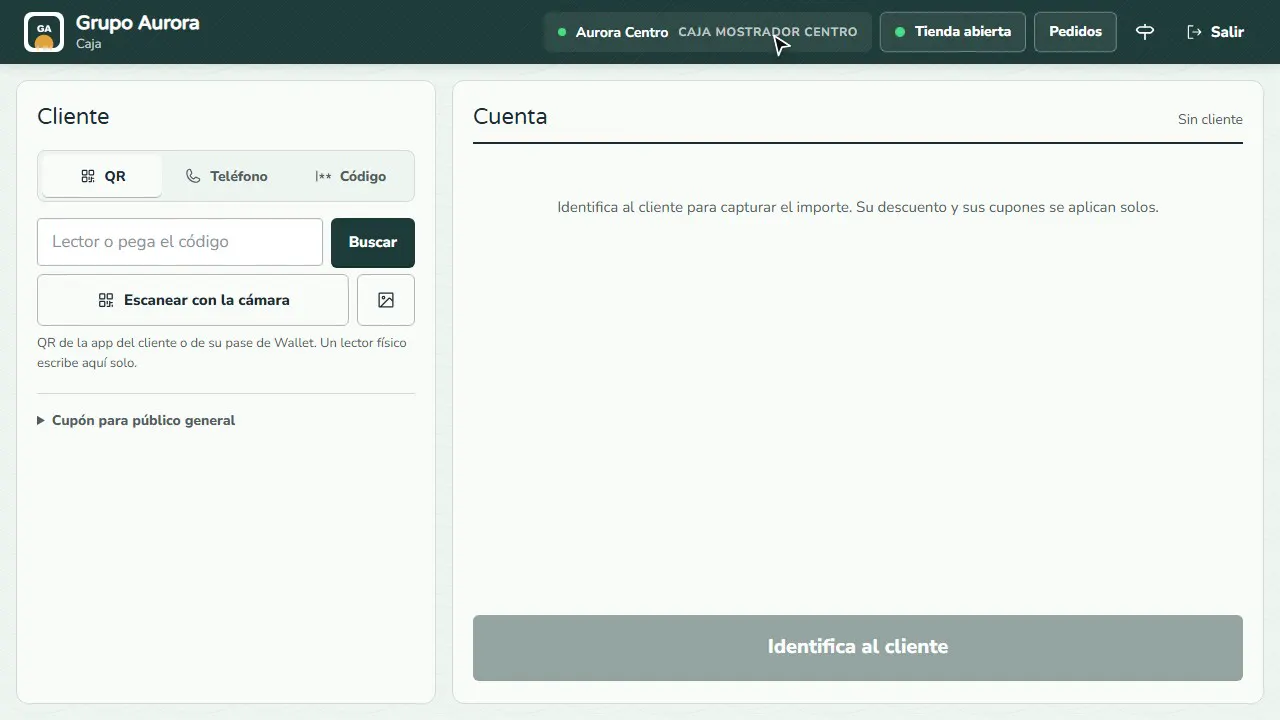
The Register opens on your branch's register device: at the top you see the branch and the device name.
Identify the customer
Scan the QR in their app, or look them up by Phone or code.
Their discount and visits
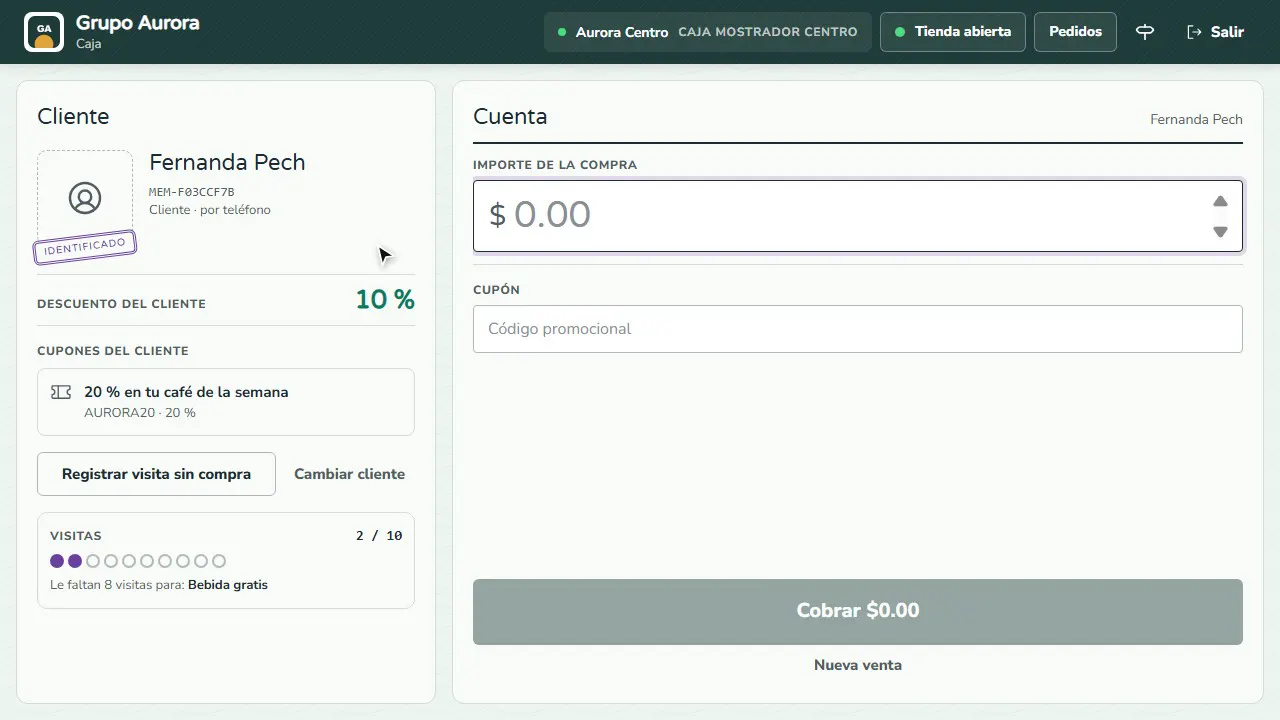
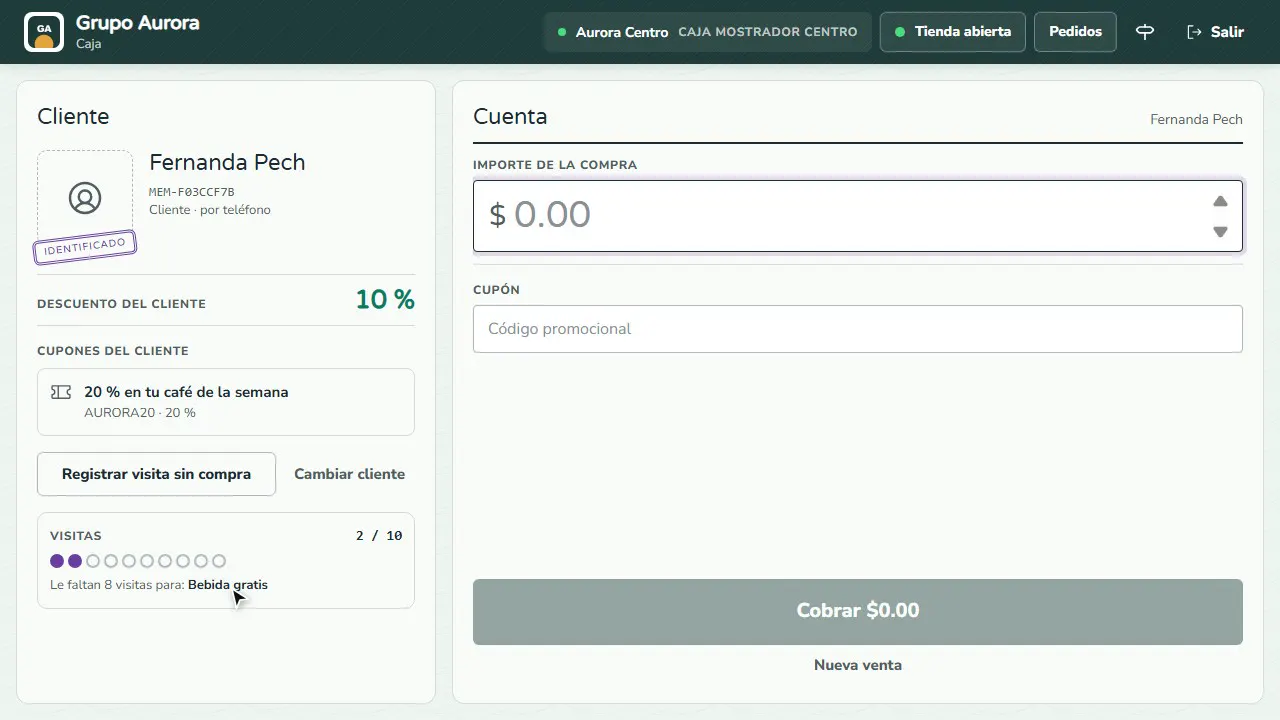
Their discount is applied automatically, and you see how many visits they have left until their reward.
Enter the amount
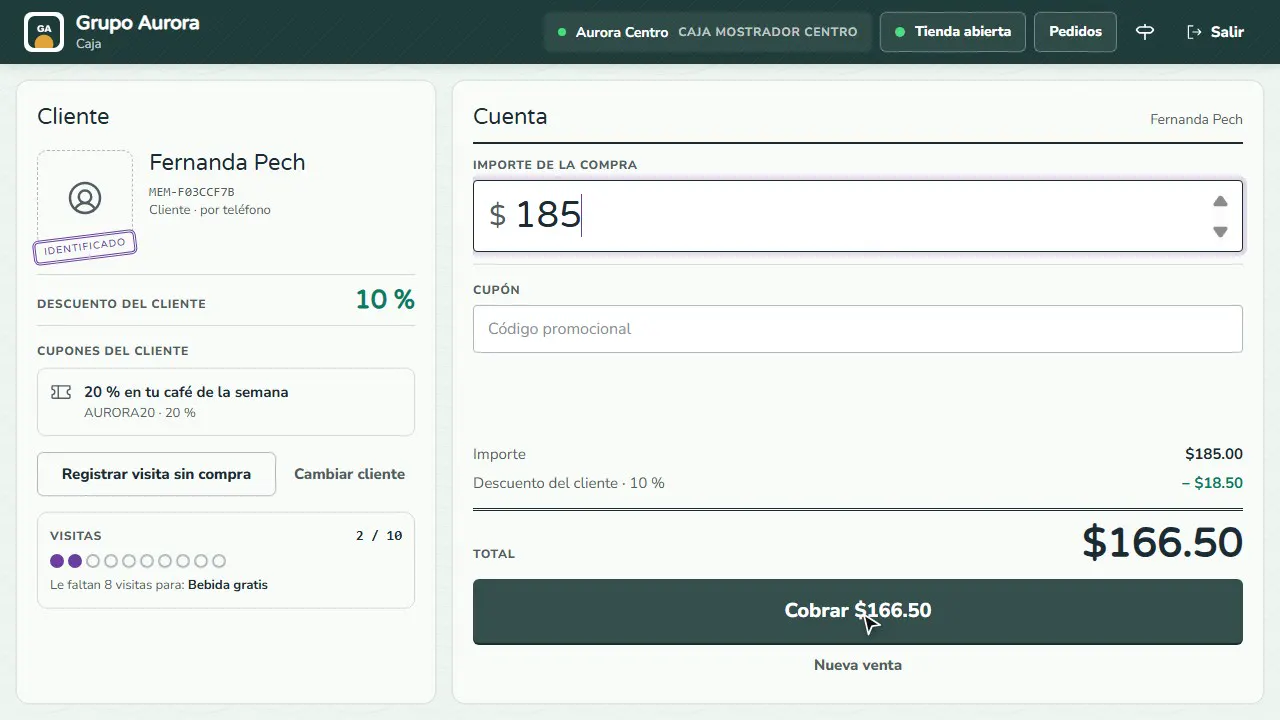
Enter the Purchase amount: the total already includes the customer's discount.
Charge with your code
Tap Charge and enter your cashier code: the sale is recorded under the branch, the device and the cashier.
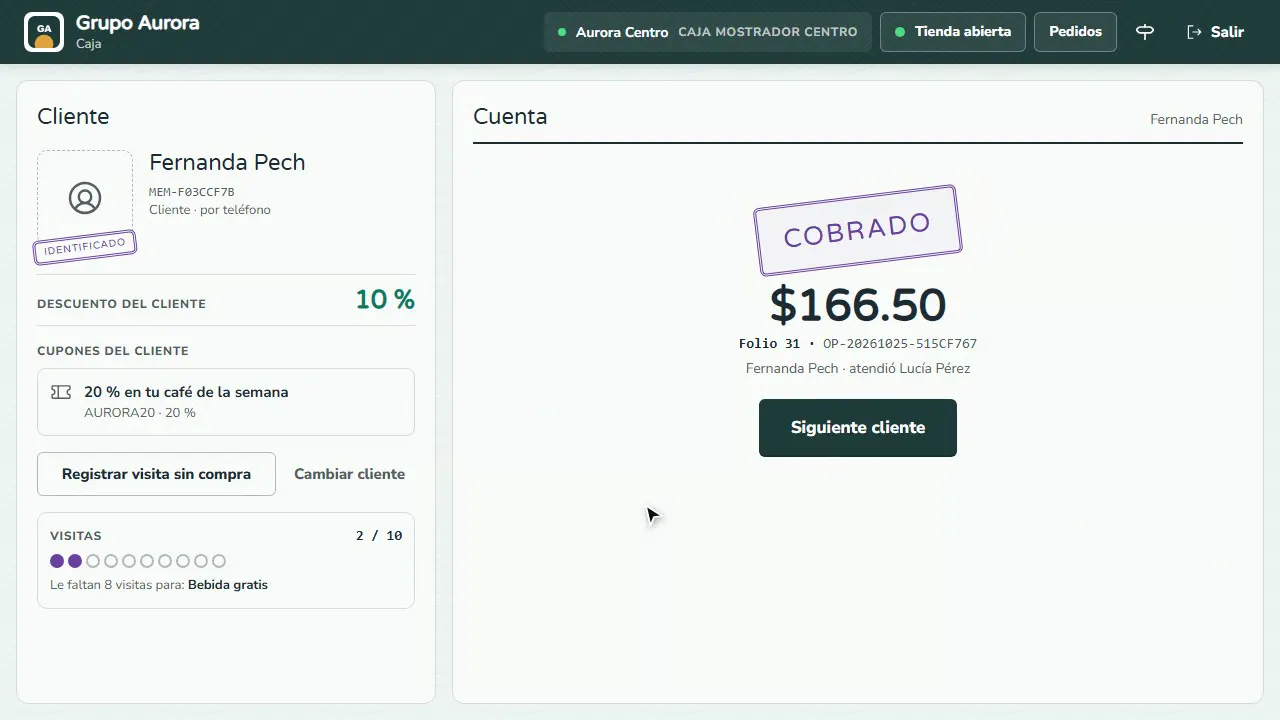
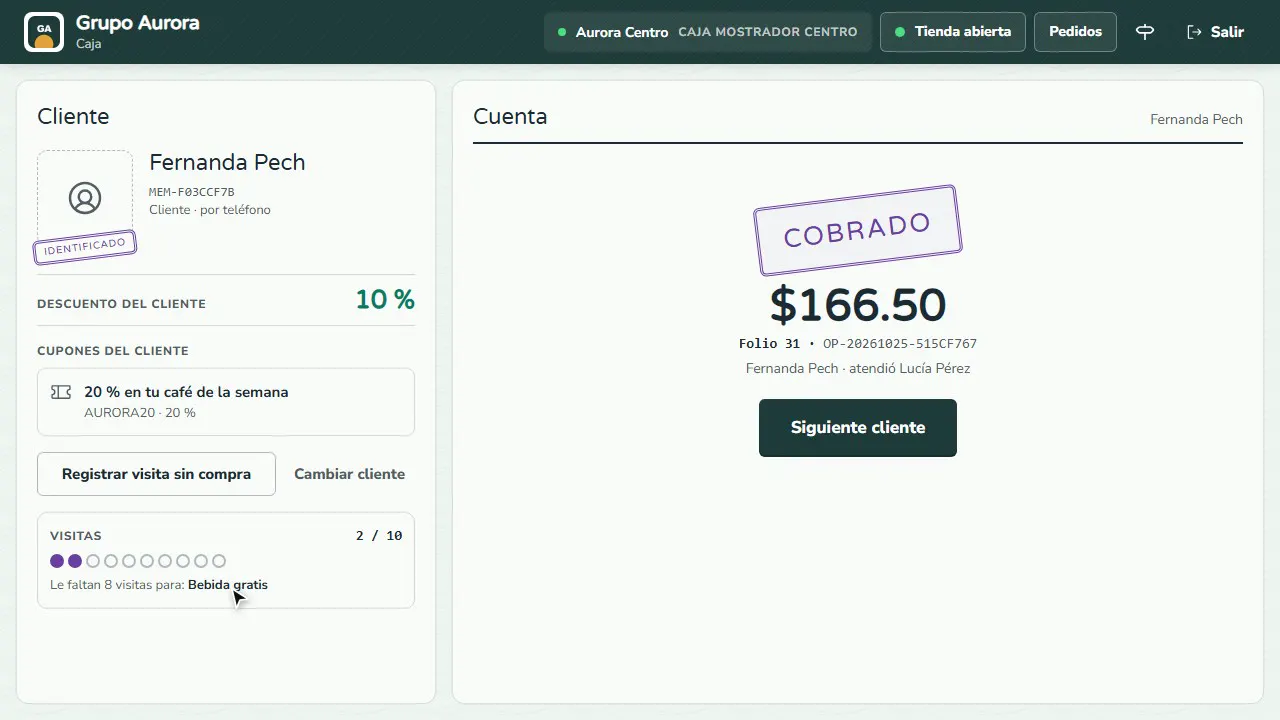
Sale recorded
You see the receipt number and who served the customer. The purchase counts as their visit for the day (one per day). Tap Next customer to keep going.
Charging with a Mercado Pago terminal
With Fidly POS you can charge with your Mercado Pago Point terminal (Point Smart) without typing the amount. To connect it:
- Link the terminal to your business's Mercado Pago account from the Mercado Pago app.
- In Settings › Devices, on the Mercado Pago terminals card, tap Connect Mercado Pago, sign in with the business account and authorize Fidly.
- Tap Refresh terminals. If the terminal isn't in Point of sale mode, tap Switch to Point of sale and restart it.
- Give it a name, choose its branch and tap Save.
In the Register, choose Mercado Pago terminal as the payment method: the amount appears on the terminal and the sale is recorded automatically when the customer pays. If it's canceled, declined or times out, nothing is recorded. If the connection says it isn't available yet, record those payments as Card.
Orders to hand over
If one person runs the counter, you don't need to open the Order board. In the Customer column, below "Identify the customer", the Register lists today's pickup orders and in-store appointments, oldest first. It plays a sound when one arrives and the Orders button shows how many are waiting.
- New: with nothing to prepare, tap Mark ready; with something for the kitchen or bar, tap Send to prep.
- Being prepared: shown only; the kitchen marks it ready on the Order board or in the Kitchen view.
- Ready: tap Charge and hand over, choose the payment method and enter your cashier code. The payment goes into the open shift and the shift close. If it's already paid, just Hand over.
- Uber Eats, Rappi or DiDi Food: here you only hand them over; the platform collects the payment.
Tap an order to see its items. While offline the list is hidden until the connection returns.
Common mistakes
- Charging without identifying the customer. The sale is recorded as a walk-in customer: no discount, no visit and no points.
- Sharing the cashier code. Each sale is recorded under whoever types the code; if everyone uses the same one, you won't know who charged.
- Opening the Register on a device that isn't registered. The first time, it asks for the device code, which you'll find in Settings › Devices.
Tips
- Ask for the app QR or the phone number on every purchase: that way the customer gets their discount and moves toward their reward.
- If the customer has coupons or visit rewards, they appear under Customer coupons; free products are redeemed with Redeem.
- Use Record visit without purchase when the customer comes in but doesn't buy anything.
- With Walk-in customer coupon you can validate a promo code without identifying anyone.